

It started with sourdough. Or maybe it started with beans. But over the past few weeks (or months), cooking projects have begun to creep into our Facebook and Instagram feeds. As it turns out, for a lot of us, staying home during the Covid-19 pandemic has sparked some serious culinary inspiration. It’s also pushing us to be more creative because ingredients can be hard to find, dishes we may have exclusively ordered out now have to be made at home and trips to the store are pushed as far apart as possible. It could even mean that we feel inspired to tackle things we’d never have made ourselves, like doughnuts or stock.
If you need some inspiration for your next culinary project (or six), we asked six chefs and bloggers what their deceptively easy standbys are. From homemade pickles to pesto, you might not go back to store-bought ever again.
Pesto
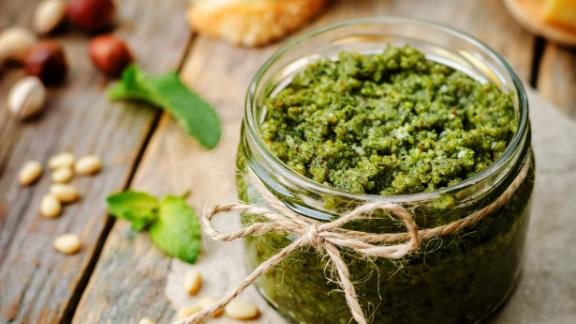
Most store-bought pesto is made with basil, but if you make it at home, you can play around with different greens and herbs. Suzanne Cupps, executive chef at 232 Bleecker in New York, likes making a spring pesto with ramps, scallion greens or arugula. (Cupps’ favorite mix is half ramp greens and half arugula.)
Cupps quickly cooks the greens before making the pesto and uses a blender rather than a food processor, since it’s better at breaking down greens. Besides tossing it in pasta, Cupps will use it to spread on sandwiches or serve with grilled fish. Pesto is also one of our favorite ways to use up a CSA farm share box.
Pesto recipe
- 1/2 cup sliced almonds (or your other favorite nut — traditionally, pine nuts are used)
- 1 tablespoon + 3/4 cup olive oil
- Salt
- 2 quarts spring greens, cut into 1-inch pieces (ramp greens, spring onion greens, scallion greens or arugula — traditionally, basil leaves are used)
- 1 cup grated Parmesan cheese
- 1 small garlic clove, sliced
- Preheat the oven to 350 degrees Fahrenheit.
- Toss nuts in 1 tablespoon olive oil and salt. Lay out evenly on a baking sheet and toast in the oven for 5 to 8 minutes, rotating once, until almonds are golden brown and fragrant. Remove from the oven and let cool.
- Put a medium-size pot of water on the stove to boil. Season liberally with salt, as you would pasta water. Separately fill up a large mixing bowl with cold water and ice. Put spring greens into boiling water and submerge using a long-handled spoon or skimmer. Allow them to cook on high for 30 seconds, then immediately remove with a skimmer or strainer and submerge into the ice-cold water. Leave the greens for 2 minutes so they are fully cooled down, then strain out the water and gently squeeze out any excess.
- In a blender or food processor, combine toasted nuts, greens, grated Parmesan and garlic. Start blending on low and slowly add in the 3/4 cup olive oil. Gradually turn up the speed until the mixture is pureed.
- Scrape out the pesto into a mixing bowl with a rubber spatula. Season to taste with salt. If pesto is thick, stir in a few tablespoons of olive oil to loosen.
- Refrigerate for up to 3 days or freeze for up to a month.
The equipment
Vitamix A2300 Ascent Series 64-Ounce Smart Blender in Black ($449.95, originally $549.95; amazon.com)
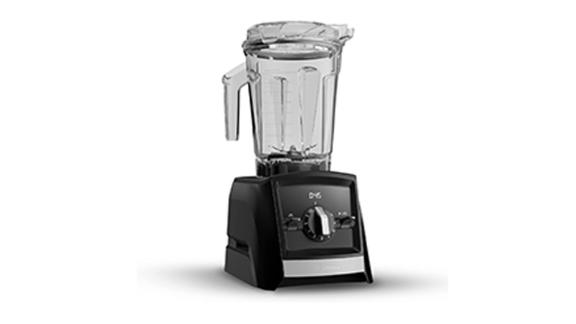
Cupps prefers a blender to a food processor for this spring pesto. She recommends a Vitamix. “They are expensive but will last forever and are much stronger than most other blenders,” she says.
_________________________________________________________
Checkered Chef Baking Sheet and Rack Set ($22.95, originally $37.95; amazon.com)
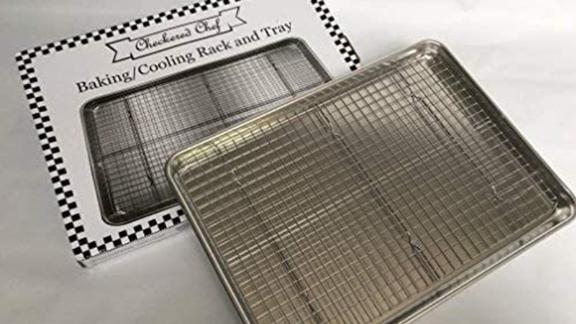
This pan with a built-in removable baking/cooling rack is so handy in the kitchen that it’s hard to imagine life without it once it’s in rotation. From roasting nuts to cooling cookies, cakes and doughnuts (see below) or even baking bacon, burgers and sheet pan meals, this dynamic duo works hard for home cooks.
_________________________________________________________
All-Clad 4-Quart Stainless Steel Dishwasher-Safe Soup Pot With Lid ($199.95, originally $279.99; amazon.com)
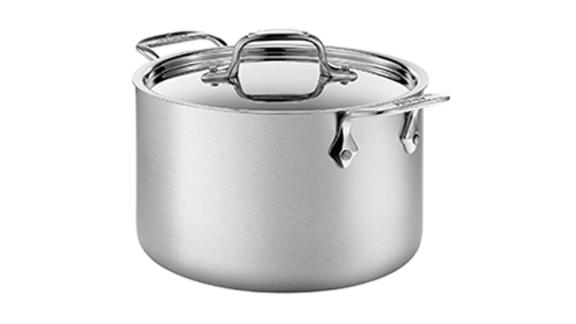
A medium-size pot is a solid addition to any kitchen cabinet, whether boiling water or making homemade soup.
_________________________________________________________
Kitch Easy-Release White Ice Cube Trays, 4-Pack ($11.95, originally $19.95; amazon.com)
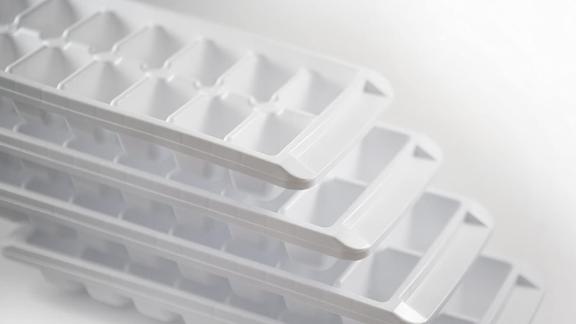
Creating an ice bath for blanching vegetables and cooling hard-boiled eggs before putting them in the fridge requires a lot of ice. Even if you have an ice maker in your freezer, it may be useful to grab a few of these trays for cases like this.
_________________________________________________________
MyLifeUnit Japanese Hot Pot Skimmer ($6.99; amazon.com)
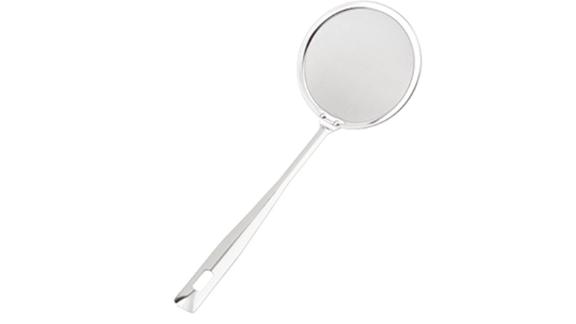
For this pesto recipe, a skimmer is used to scoop the blanched greens out of the boiling water. However, a skimmer can be used for lots of different jobs, from scooping out hard-boiled eggs to gently dropping food into and out of hot oil for deep-frying.
Doughnuts

Even experienced bakers may balk at the idea of making doughnuts at home. After all, the doughnut machine at Krispy Kreme isn’t exactly something that can be squeezed into a home kitchen. Thankfully, Dzung Lewis, YouTuber and author of the forthcoming “Honeysuckle Cookbook,” has found a way to avoid the messy grease and still bring the beloved treat home.
“I love making baked doughnuts, which are a little healthier than their fried counterparts, and as far as flavors go, you can make them as indulgent or as light as you want with just a few ingredient swaps,” she says. Lewis has experimented quite a bit with doughnuts, from matcha green tea to maple glazed doughnuts topped with bacon.
While baking is a lot easier than frying, you do need to invest in one piece of specialty equipment: a doughnut pan. After some experimentation, Lewis finds that a silicone one works much better than nonstick steel pans, even when they’re sprayed with oil. Lewis stabilizes the mold on a regular baking sheet in the oven. The dough is then piped into the molds using a piping bag, though a large food storage bag with a corner trimmed off can also be used.
See some of Dzung Lewis’ doughnut recipes on her YouTube channel:
The equipment
Wilton Nonstick Food-Grade Silicone Donut Baking Pans, Set of 2 ($12, originally $16.69; amazon.com)
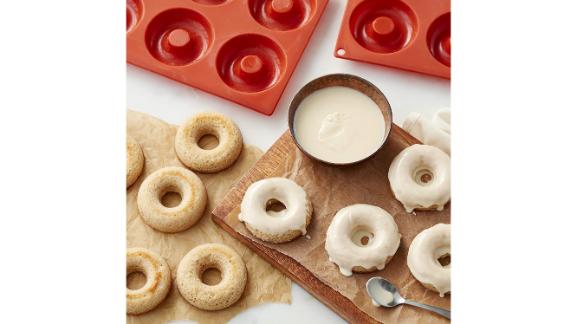
Lewis likes that these silicone doughnut pans are not only nonstick but also roll up and store easily.
_________________________________________________________
Wilton Perfect Results Nonstick 20-Cavity Donut Baking Pan ($14.93, originally $22.89; amazon.com)
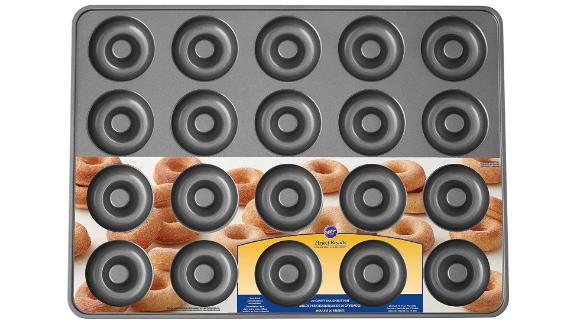
Watching Lewis make mini doughnuts on her YouTube channel, however, you will see this nonstick mini doughnut pan in use too.
_________________________________________________________
Ateco 18-Inch Disposable Pastry Bags, Set of 10 ($10; surlatable.com)
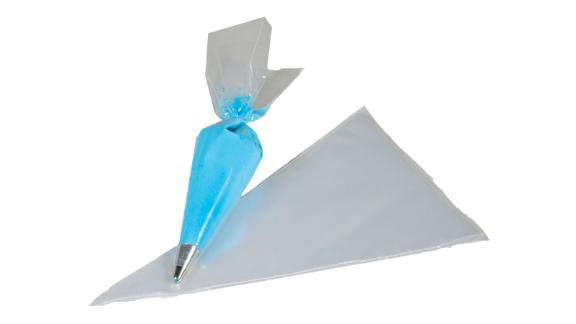
Piping bags allow you to neatly transfer the dough into the mold.
_________________________________________________________
Measuring Cups and Magnetic Measuring Spoons Set ($29.99; amazon.com)
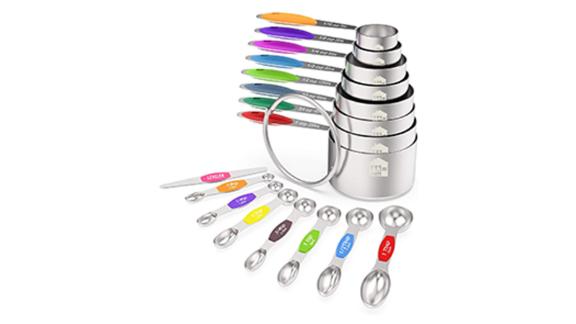
Making doughnuts from scratch requires a bunch of ingredients measured in varying amounts. This set of spoons and cups should do the trick.
_________________________________________________________
Oxo Good Grips 11-Inch Better Balloon Whisk ($9.99; amazon.com)
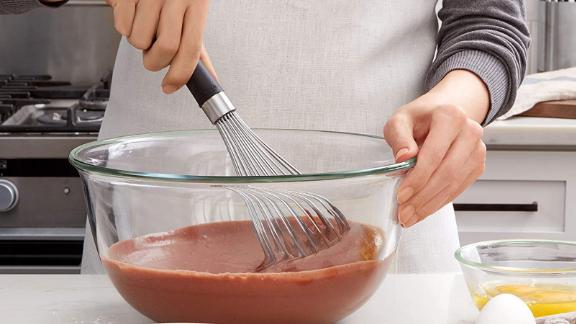
A good whisk will mix up all sorts of amazing things, including both the dry and wet steps in making doughnut batter.
_________________________________________________________
Cooptop Silicone Spatula Set in Red ($10.99; amazon.com)

Spatulas are great for mixing batter and scraping out every last bit to make as many delicious doughnuts as possible.
Falafel

Falafel and doughnuts don’t have a lot in common at first blush, but then again, falafel can be a wildly popular treat that we may (wrongly) assume requires a deep fryer and isn’t worth attempting at home. Hannah Messinger, a food writer in Nashville, Tennessee, has become a falafel evangelist in part because of her podcast, “Pantry Raid,” where she encourages people to cook with ingredients they already have. Falafel, as it turns out, might be not so far out of reach. Pro tip: Falafel is a great way to use up extra beans, herbs and vegetables!
That’s because Messinger’s recipe is what she calls “loosey-goosey as hell” and “one of the most forgiving recipes you can imagine.” While her recipe calls for dried chickpeas, she is quick to add that you can use just about any dried beans. The dried beans are soaked overnight, drained, then pulsed in a food processor with onions and parsley or whatever herbs you have on hand.
Then gather the processed dough into small balls and pan-fry them. Falafel is best eaten fresh, but you can store the dough in an airtight container for up to five days and fry them fresh as needed.
Once fried, the falafel can be added to a salad, put in a pita or even served on a platter with some olives, pickles and feta for a Mediterranean take on a cheese plate.
The equipment
Cuisinart Mini-Prep Plus Food Processor ($39.99; bedbathandbeyond.com)
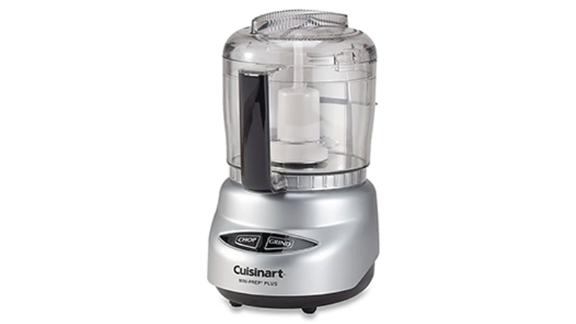
No space or budget for a full-size food processor? No problem! Messinger says a tiny one works fine — you just might have to mix in batches.
_________________________________________________________
Norpro 679 Stainless Steel Scoop ($17.80; amazon.com)
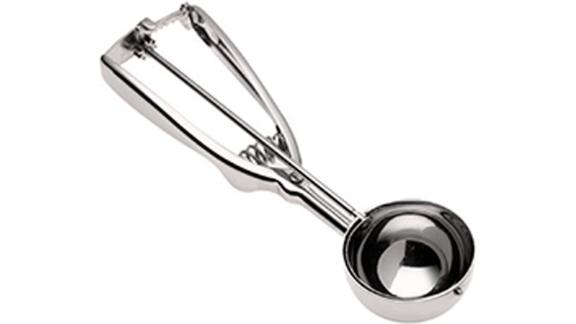
Messinger gets uniform falafel balls by using a stainless steel scoop. This size can also be used for meatballs, extra large cookies and even scooping ice cream.
_________________________________________________________
T-fal E76597 Ultimate Hard Anodized Nonstick 12-Inch Fry Pan With Lid ($67.95; amazon.com)
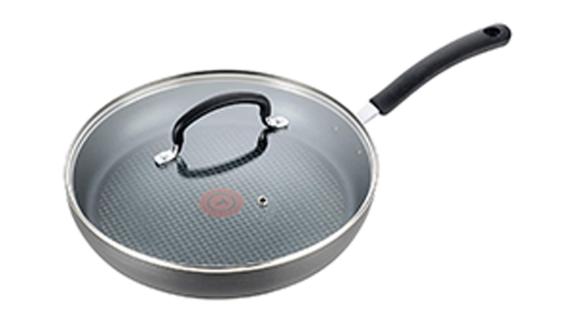
Rated the best nonstick frying pan of 2020 by CNN Underscored, this pan delivers a serious nonstick surface for a great price. Those yummy, crispy falafels won’t stick to this pan!
Labneh
Messinger also recommends serving the falafel with labneh, which, depending on where you are in the country, might be hard to find even pre-pandemic. A kind of cheese made from strained yogurt, you can make it at home by — you guessed it — straining yogurt. Tenaya Darlington, better known on the internet as Madame Fromage, started making her own labneh after finding a recipe for it in “New Feast” by Lucy and Greg Malouf. You can find the full recipe here, but like with quick pickles, it’s a recipe that is as much about waiting as anything else.
Labneh is made by letting the whey drain off slowly. In “New Feast,” the authors recommend tying yogurt in a cloth bag and hanging it from a wooden spoon, but Darlington found a much easier workaround: She lines a strainer with cheesecloth and lets it sit in a larger mixing bowl. Throughout the night, the whey will slowly drain, leaving you with a fresh, tangy cheese in the morning.
While labneh can seem close to Greek yogurt — and Greek yogurt is just about everywhere these days — Darlington prefers to start with a regular yogurt.
“I find that a lot of Greek yogurt contains thickening agents, and sometimes the consistency reminds me of wet cement,” she says. Using regular yogurt (Darlington likes to go with the organic, grass-fed kind) actually gives you more control over the texture and taste.
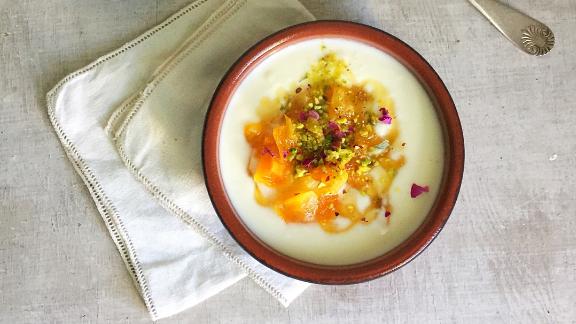
Labneh can be used as a spread or dip, but Darlington is particularly enamored with using it to make labneh bowls for breakfast. Swirl some around in a bowl and top it with fruit, crunch (like seeds or nuts) and spices and you have a surprisingly sophisticated answer to oatmeal.
The equipment
Organic Valley Grassmilk Whole Milk Yogurt Plain (prices vary by location; instacart.com)
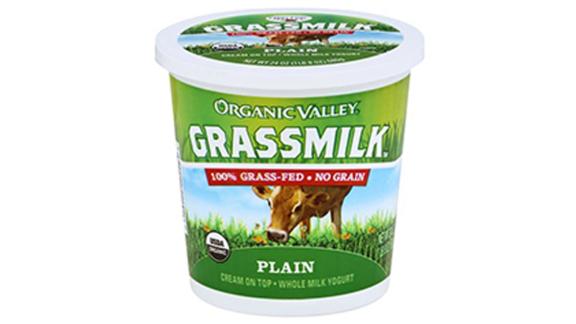
Because it’s basically the only ingredient in labneh, choosing a high-quality yogurt is important. Darlington prefers grass-fed plain yogurt like this when she makes it.
_________________________________________________________
Oxo Good Grips 8-Inch Double Rod Strainer ($19.99; bedbathandbeyond.com)

Yogurt drains through a fine mesh strainer overnight to leave a thickened and tangy labneh behind.
_________________________________________________________
Regency Natural Ultra Fine Cheesecloth ($5; surlatable.com)
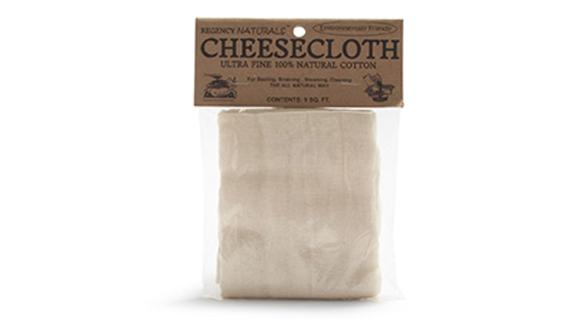
Even if you don’t have a fine mesh sieve, you can line a colander with cheesecloth to strain yogurt.
_________________________________________________________
’New Feast: Modern Middle Eastern Vegetarian’ by Lucy Malouf & Greg Malouf ($29.99; barnesandnoble.com)
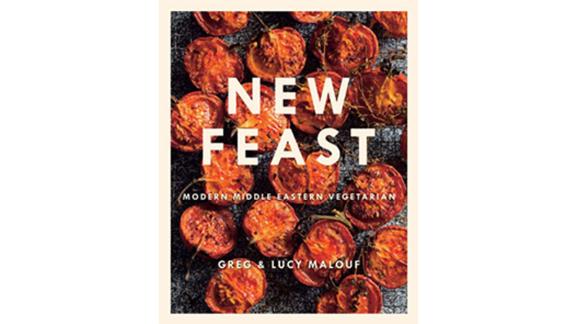
This is the cookbook that inspired Darlington to attempt making her own labneh at home.
Quick pickles
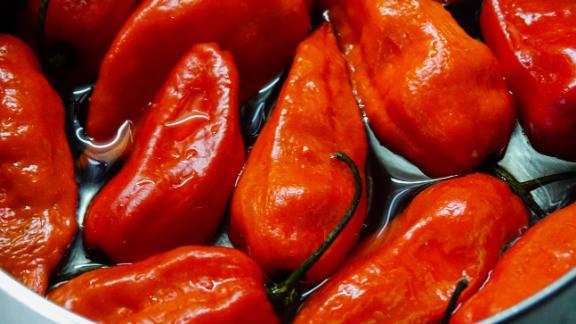
You can make quick pickles out of nearly anything, and it can be an easy way to use up and preserve produce before it goes bad. They’re also a great way to jazz up meals that are starting to feel repetitive with all of this home cooking going on. Carolynn Spence, chef at Shaker + Spear in Seattle, nearly always has a jar of what she calls “all-purpose pickled fresnos.”
“I’ll be honest, as a chef … I don’t cook much at home. I’m more of a snacker. But whatever I eat usually requires heat and acid,” she says about pickled peppers, which she adds to pizza, egg salad, veggies and sandwiches. Quick pickles don’t last as long as traditional preservation methods, but they’re way easier and still last for several months in the fridge. Plus, Spence adds, she doesn’t need to worry about preserving them for more than a few months — she’ll eat them way before they expire!
Fresno peppers have a rounded heat and are less distinctive than jalapeños, making them a great condiment. But you can do this with jalapeños or another pepper — just be aware that while pickling takes some of the heat away, if you pickle something like a habanero it will still be plenty hot.
Pickled fresno peppers recipe
- 16 red fresno chili peppers (or similar amount of any vegetable)
- 2 cups water
- 2 cups distilled white vinegar
- 2 tablespoons kosher salt
- 1 tablespoon white sugar
- Slice the chilis into thin rounds and soak them in water to de-seed.
- Bring the 2 cups of water and vinegar to a boil and dissolve the salt and sugar.
- Place the chilis in a 1-quart Mason jar and cover with liquid.
- The pickles will be ready to eat the next day and will store for a few months.
The equipment
Ball 32-Ounce Smooth-Sided Mason Jars, 12-Count ($10.59; target.com)
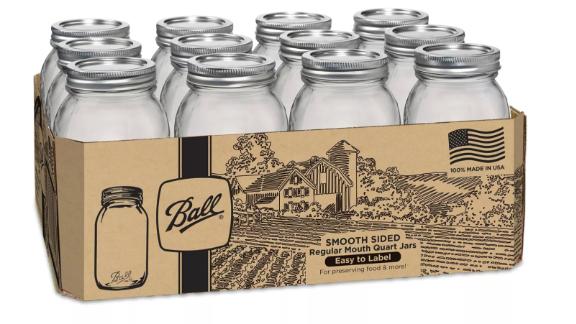
Spence stores her quick pickled chilis in 32-ounce Mason jars. They’re great for long-term storage, and the glass won’t absorb odors or smell.
_________________________________________________________
Wüsthof Classic 8-Inch Chef’s Knife ($116.99, originally $165; amazon.com)
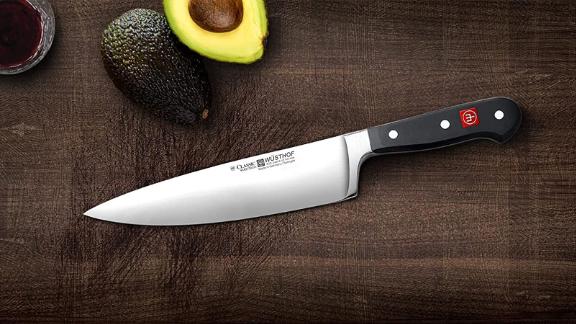
This high-quality chef’s knife will last a lifetime when well cared for and will make preparing food much more enjoyable.
_________________________________________________________
Reversible 17- by 11-Inch Walnut Cutting Board With Handles and Juice Groove ($49.97; amazon.com)
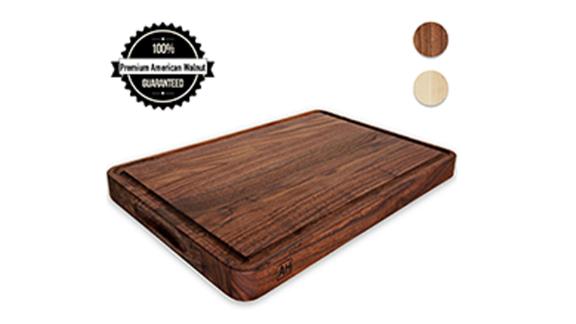
Making quick pickles requires a ton of chopping. A versatile cutting board will be essential for that, or any kitchen project that requires cutting. Our editors love the juice groove that prevents juicy fruits and veggies from leaking all over the kitchen counter.
_________________________________________________________
Zoie + Chloe 3-in-1 Stainless Steel Funnel Set ($13.99, originally $20; amazon.com)
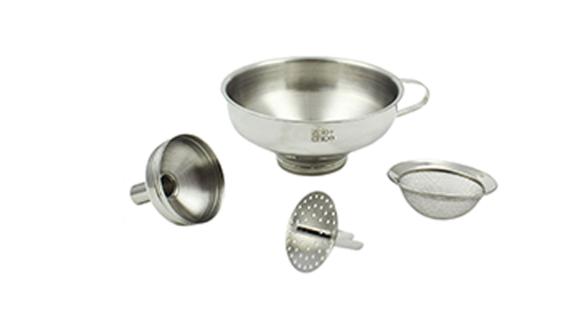
Pouring liquids into Mason jars from a bowl or pot requires some serious skills. Reduce big spills by using a wide-mouth funnel. This set comes with a bunch of inserts that make funneling useful in loads of applications.
Chicken stock
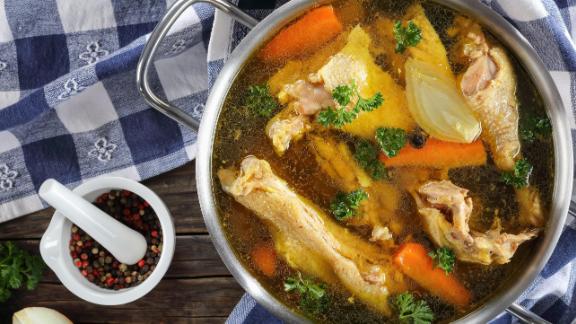
Stock is relatively inexpensive to buy in the store, so many of us don’t give a second thought to making our own. But, like with pickles, it’s an easy, mostly hands-off activity with big payoff. The biggest thing with stock is time: You need to simmer the ingredients for at least two to three hours. But since you’re probably sitting at home anyway, why not? And, like with pickles, it can be a great use for leftover carrots and celery and a way to get more use out of a whole roasted chicken or other bones. Frank Proto, the director of culinary operations at the Institute of Culinary Education, shared his recipe with us. It makes a lot, but he recommends freezing it after it cools so you have plenty on hand to thaw and use in the future. Besides using it for soups, Proto recommends using homemade stock for rice, pasta and braising meats. Taste the stock as you simmer it; it should be “bland … but with a good chicken flavor,” he explains. If it’s not there, you can always simmer longer.
Proto also recommends cooling the stock quickly before freezing to reduce the risk of contamination. He uses a sink filled with ice and water to cool the containers before he labels them with the date and puts them in the freezer.
Chicken stock recipe
- 2 tablespoons vegetable oil
- 2 pounds chicken bones
- 1 pound chicken wings (if you don’t have any, just add more bones)
- 2 medium onions, roughly chopped
- 2 carrots, peeled and roughly chopped
- 2 celery ribs, roughly chopped
- 4 garlic cloves, smashed
- 1 bay leaf
- 1 teaspoon black peppercorns
- Heat vegetable oil in a large stock pot on high. Add the bones and wings and brown lightly.
- Add all the chopped vegetables, including garlic, and brown lightly.
- Add cold water to cover the bones and vegetables. Add the bay leaf and peppercorns and bring to a boil.
- Once the stock boils, lower to a simmer and let cook for 2 to 3 hours over low heat. Strain and cool.
The equipment
Tramontina Gourmet Aluminum Stockpot With Lid (starting at $99.95, originally starting at $140; wayfair.com)
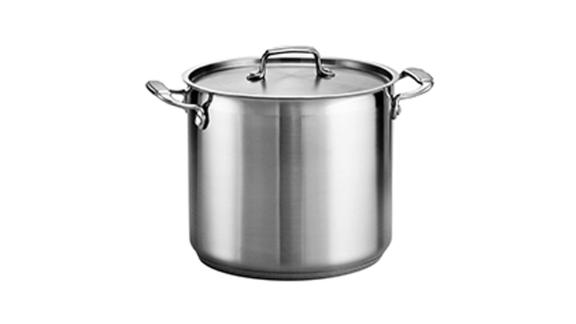
Proto uses a 22-quart stockpot to make his stock, which is way too big for most of us. He recommends a 10- to 15-quart stockpot for most home chefs.
_________________________________________________________
DuraHome Food Storage Containers With Lids, Set of 44 ($17.91; amazon.com)

Chefs, including Proto, love deli containers. You can usually find them at restaurant supply stores, and they’re inexpensive and reusable. Proto recommends getting a mix of pint and quart containers so you have different sizes. Because the lids fit both sizes, you’re less likely to be scrambling around looking for the right size. Of course, the Ball jars mentioned above work well for this too.
_________________________________________________________
U.S. Kitchen Supply 3-Quart Stainless Steel Mesh Net Strainer Basket ($9.96; amazon.com)
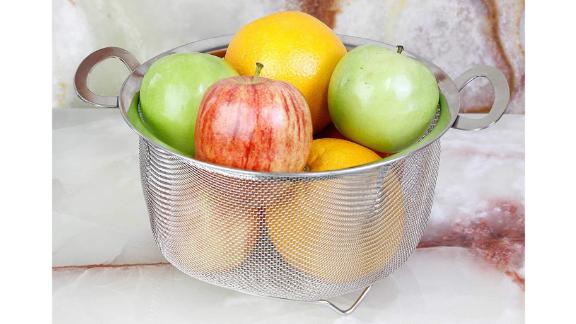
This big strainer is great for straining the solids out of the stock as you pour from the pot to a bowl (see below) and then to the jars for storage.
_________________________________________________________
Rorence Stainless Steel Nonslip Mixing Bowls, Set of 3 in Red ($38.99, originally $42.99; amazon.com)
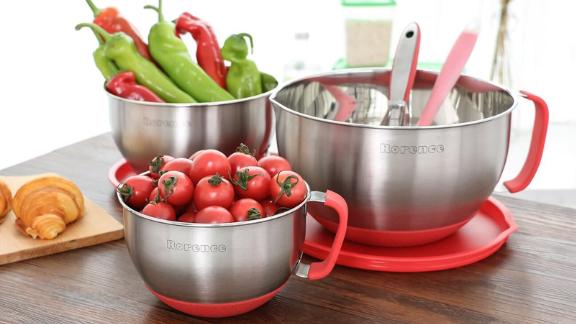
High-sided mixing bowls with nonslip bottoms, pour spouts, handles and lids are pretty much the holy grail of mixing bowls. This set will get used a ton in almost any kitchen.
Note: The prices above reflect the retailers’ listed prices at the time of publication.
https://www.cnn.com/2020/07/31/cnn-underscored/cooking-from-scratch/index.html
2020-07-31 21:08:59Z
CBMiTmh0dHBzOi8vd3d3LmNubi5jb20vMjAyMC8wNy8zMS9jbm4tdW5kZXJzY29yZWQvY29va2luZy1mcm9tLXNjcmF0Y2gvaW5kZXguaHRtbNIBUmh0dHBzOi8vYW1wLmNubi5jb20vY25uLzIwMjAvMDcvMzEvY25uLXVuZGVyc2NvcmVkL2Nvb2tpbmctZnJvbS1zY3JhdGNoL2luZGV4Lmh0bWw
Bagikan Berita Ini


0 Response to "Cooking from scratch: 6 delicious cooking projects to tackle while staying home - CNN"
Post a Comment